
Restaurant Reservation Plugin Installation Guide
Managing your restaurant business becomes challenging, especially when you have no system to manage reservations. For this reason, restaurant owners employ booking plugins such as the eaSYNC Booking Plugin into their WordPress websites. In this article, we have provided an easy-to-follow plugin installation guide for eaSYNC Restaurant Reservation!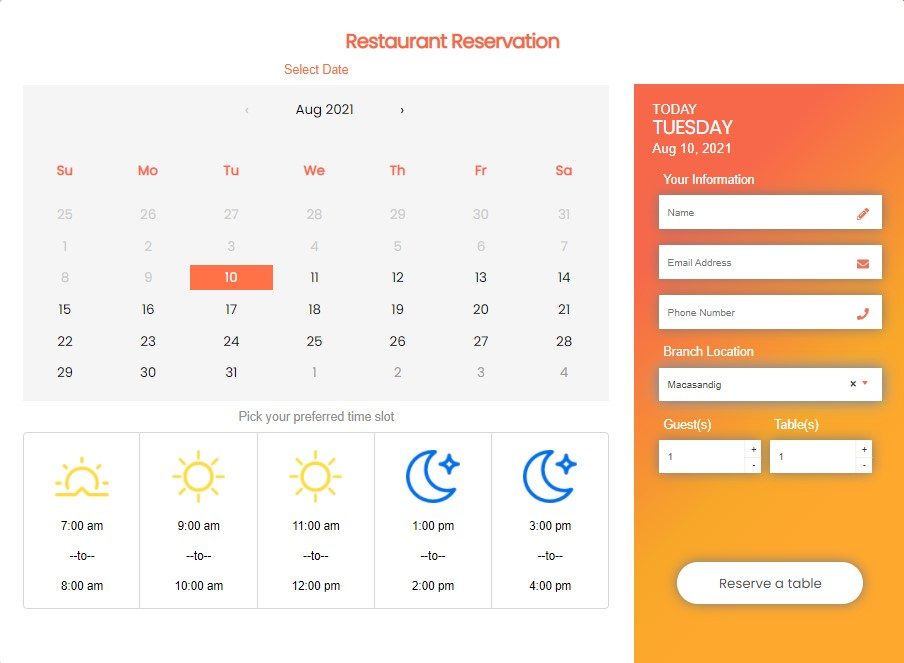
Installing the eaSYNC Restaurant Reservation Plugin
Here is a step-by-step plugin installation guide for eaSYNC restaurant reservation for your WordPress website.
Are you ready? Let us begin!
eaSYNC Restaurant Reservation Plugin Installation Guide
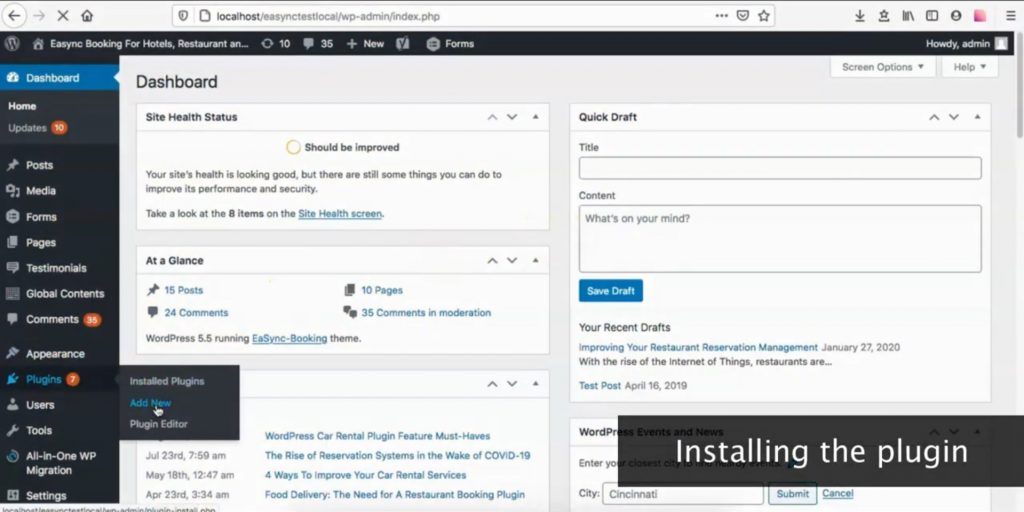
Say you already have a running and functional WordPress website—first, head on to the admin dashboard on the left side of your screen. Then, click the Plugins tab and hit on the Add Now button.
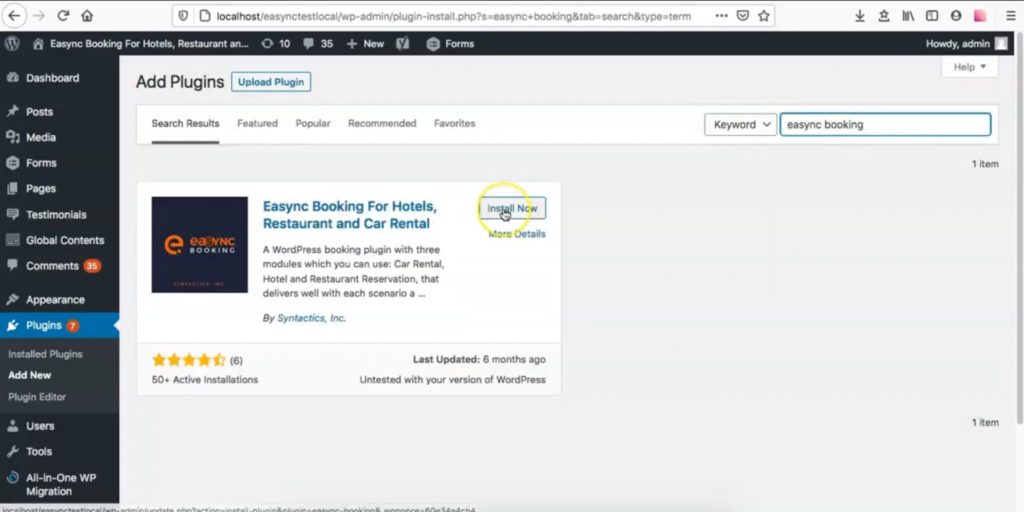
On the next page, you will see a Search Box. Input the keywords “easync booking” to bring up the particular plugin. Once the plugin pops up, click the Install Now button. After installing, click on the Activate button.
Upon activation, you will see a set of instructions on your screen regarding the usage of the eaSYNC booking plugin.
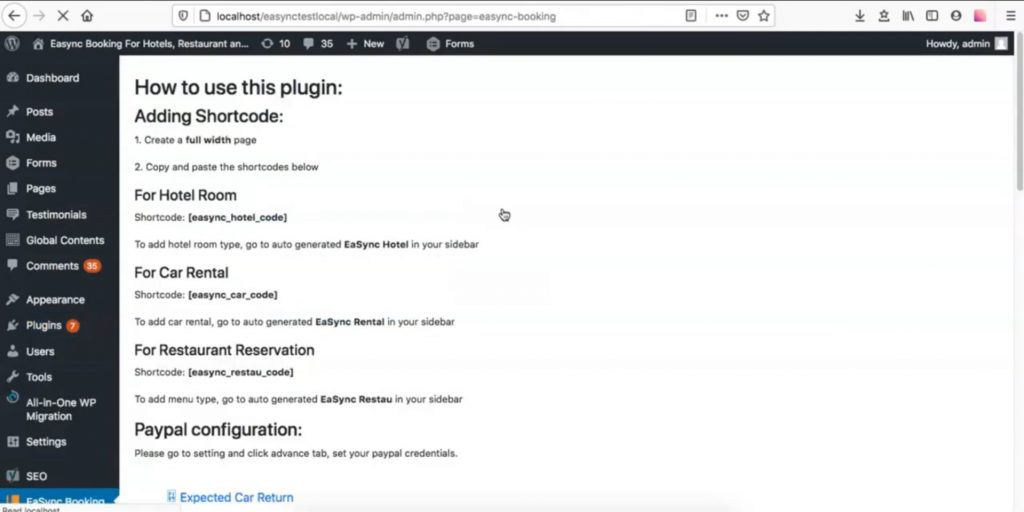
Note: Aside from restaurant reservations, the eaSYNC Booking plugin also caters to car rentals and hotel bookings. Click on the respective video tutorials for the car rental plugin and the hotel booking plugin to see how they work!
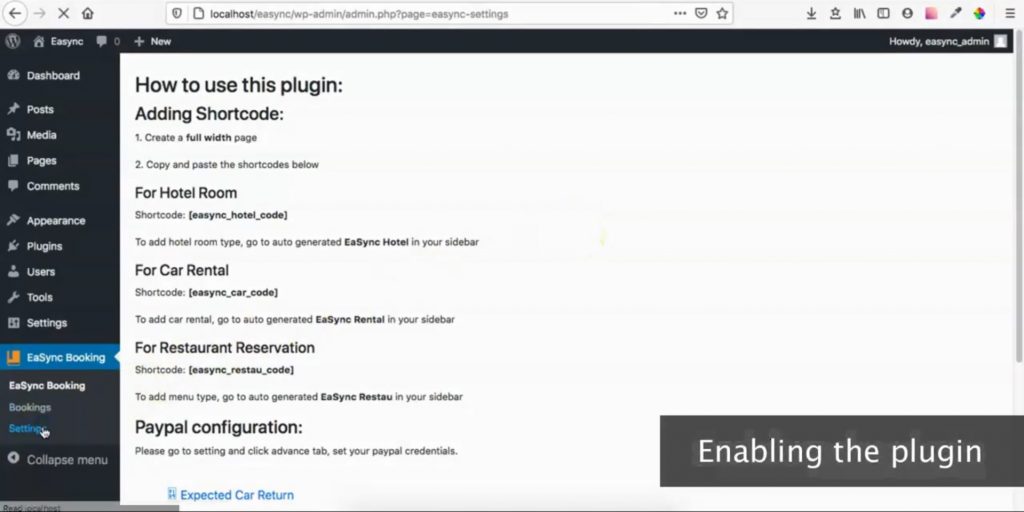
Enabling the eaSYNC Booking Plugin
Click on the Settings tab located on the admin dashboard under the eaSYNC Booking tab.
Then, enable the plugins by switching ON any or all of the Hotel Booking, Car Rental, and Restaurant Reservation buttons.
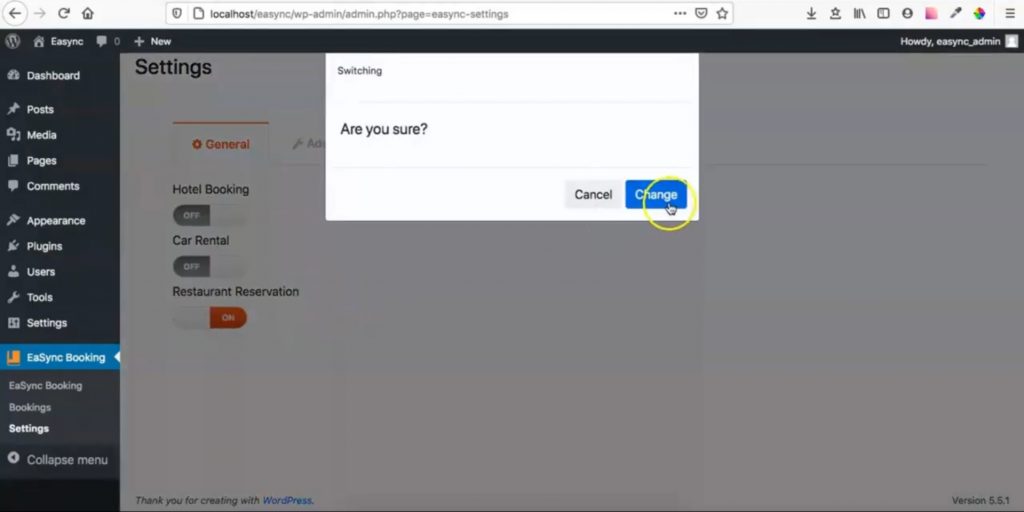
Click on the Change button to complete this step.
Adding Restaurant Branches of Other Locations
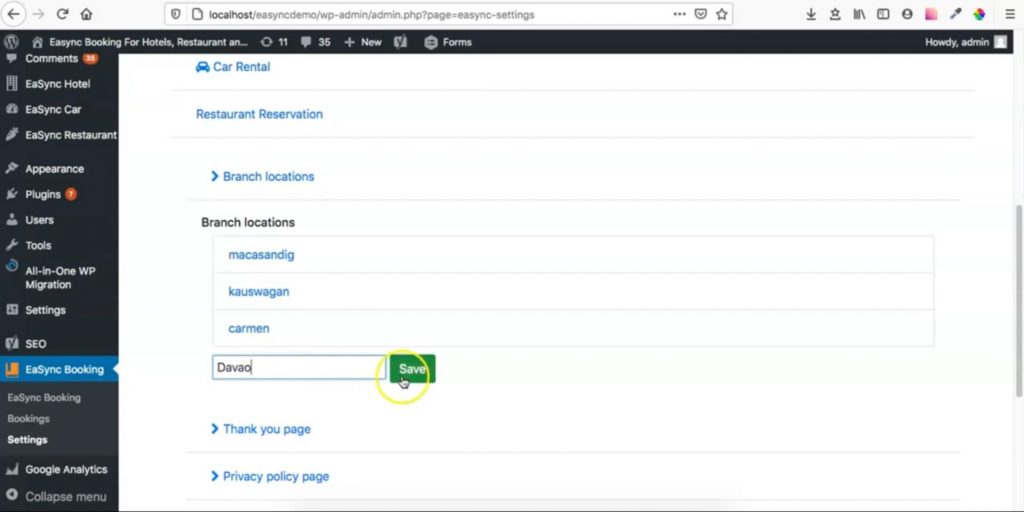
On the admin dashboard, click the eaSYNC Booking tab. Next, scroll down to the section labeled Restaurant Reservation and then click on Branch locations.

On the entry box, indicate the name of the new branch location (example: “Davao”). After that, hit the Save button.
Setting the Menu Banner Image
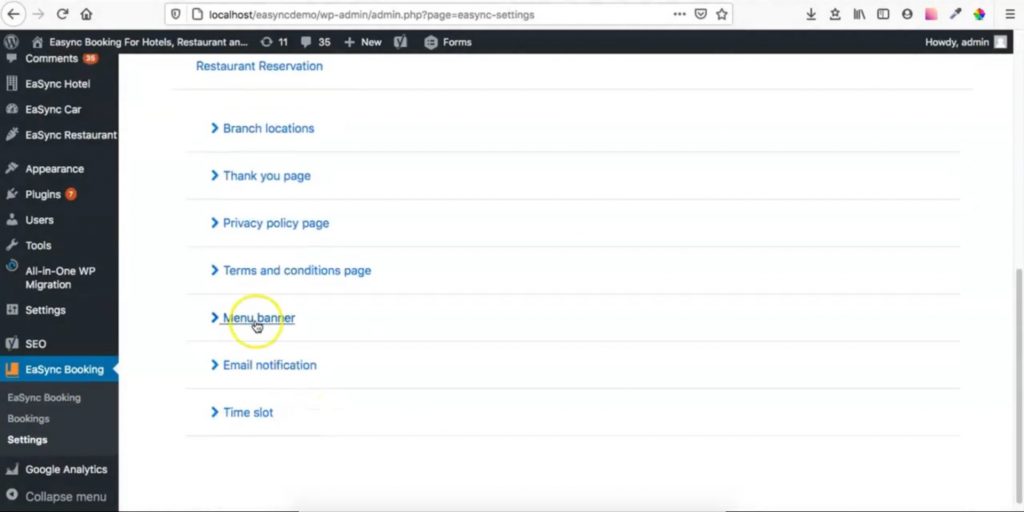
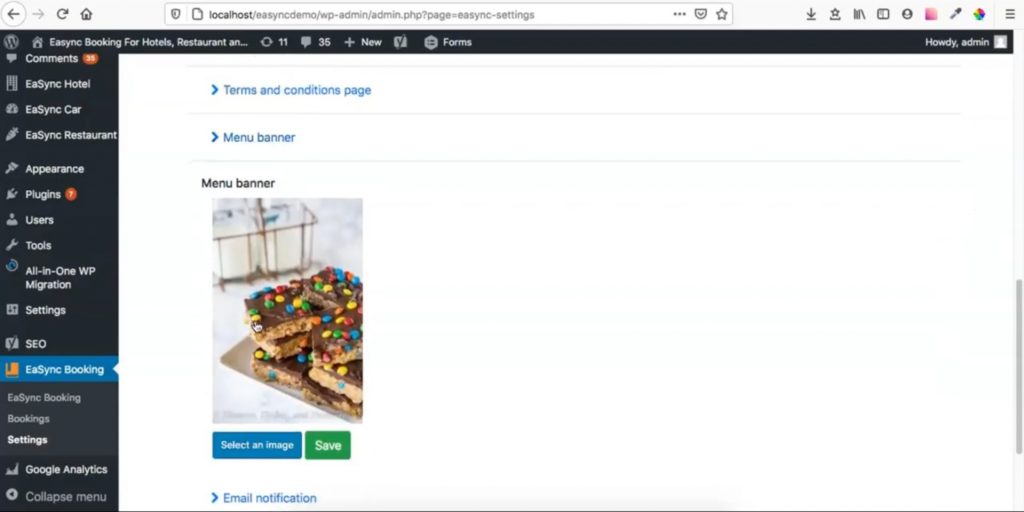
On the admin dashboard, click the Settings button under the eaSYNC Booking tab. Next, scroll down to the section labeled Restaurant Reservation and then hit the Menu banner tab.
Next, click on the Select an image button.
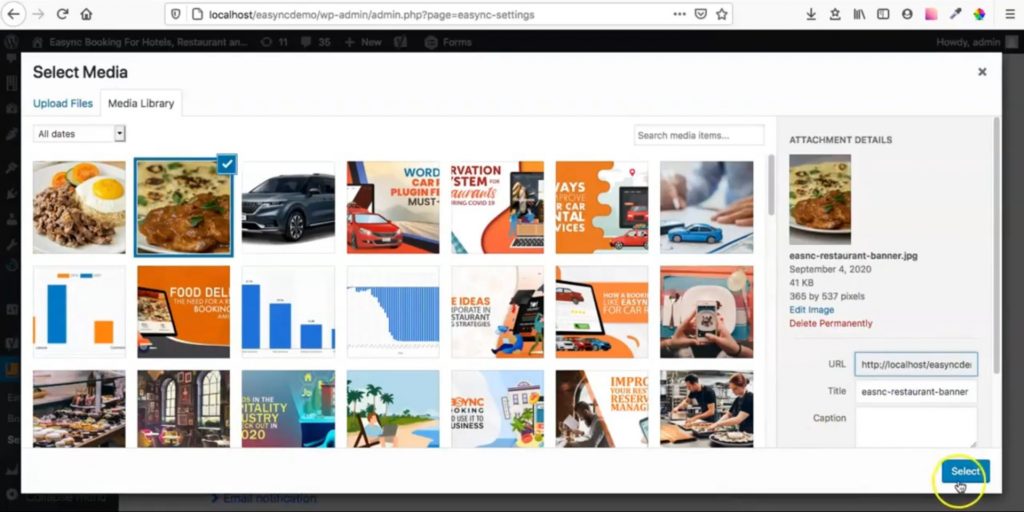
Choose your desired image from the Media Library or upload a file. Once you have selected an image, hit the Select button on the lower right portion of the screen.
Setting Up Restaurant Booking Hours and Availability
On the admin dashboard, click the Settings button under the eaSYNC Booking tab. Next, scroll down to the section labeled Restaurant Reservation and then click on the Time slot button.
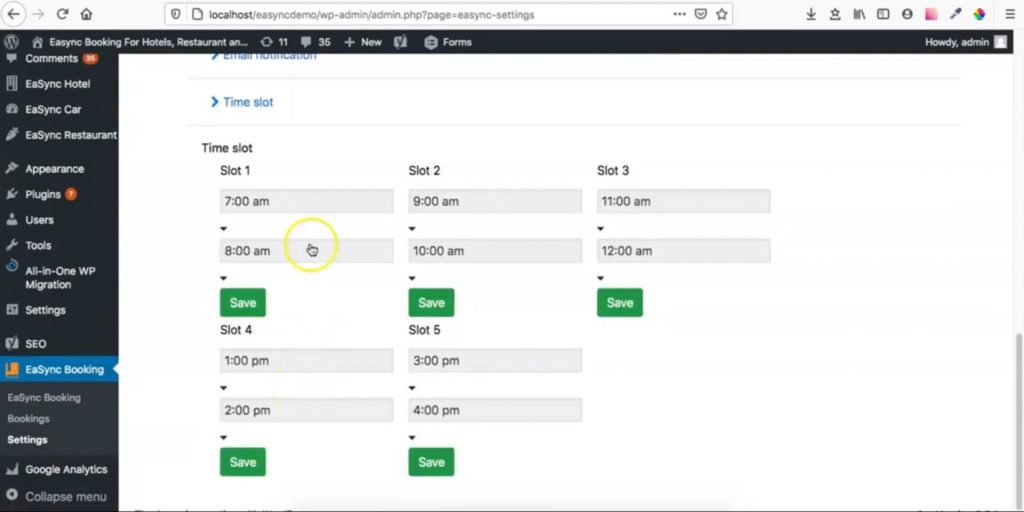
Customize your booking time slots depending on your store’s availability. Then, cake sure to hit on the Save button every time you make changes for each slot.
Adding Food to the Menu
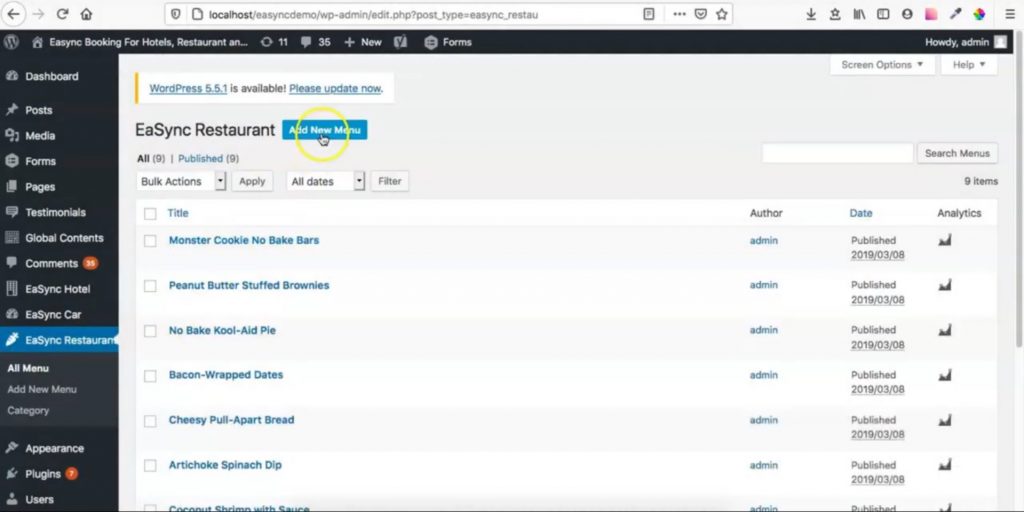
On the admin dashboard, click the eaSYNC Restaurant tab. Then, tap on the Add New Menu button.
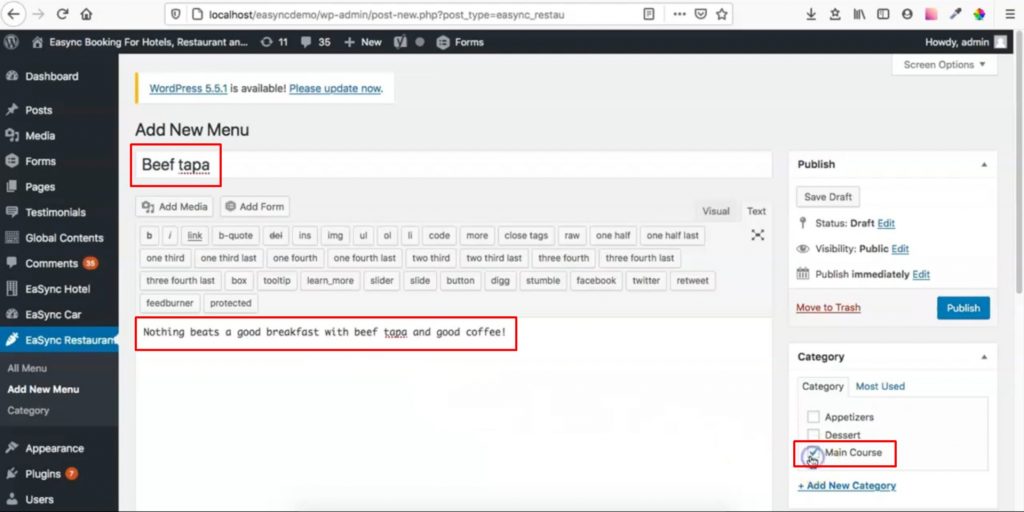
On the next page, please enter the name or title of the new menu and provide a short and catchy description below it. Then, on the right side of the screen, please select the category where it belongs.
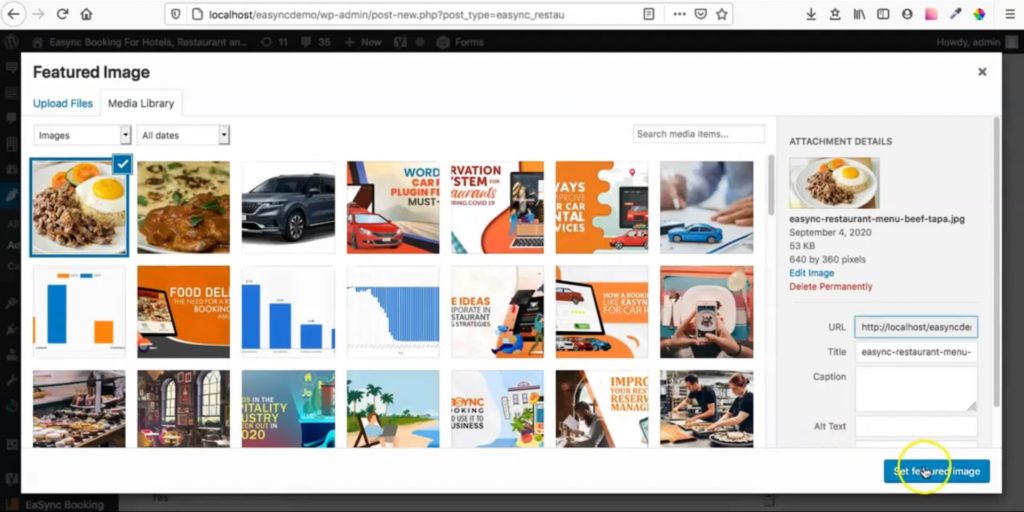
Scroll down to find the Set Featured Image button located on the right-side panel. Then, click on it to bring up the Media Library with your uploaded images. Next, choose an image for your new menu, and then click on the Set Featured Image button on the lower right portion of the screen.
After that, indicate the Menu Price and provide notes, if needed.
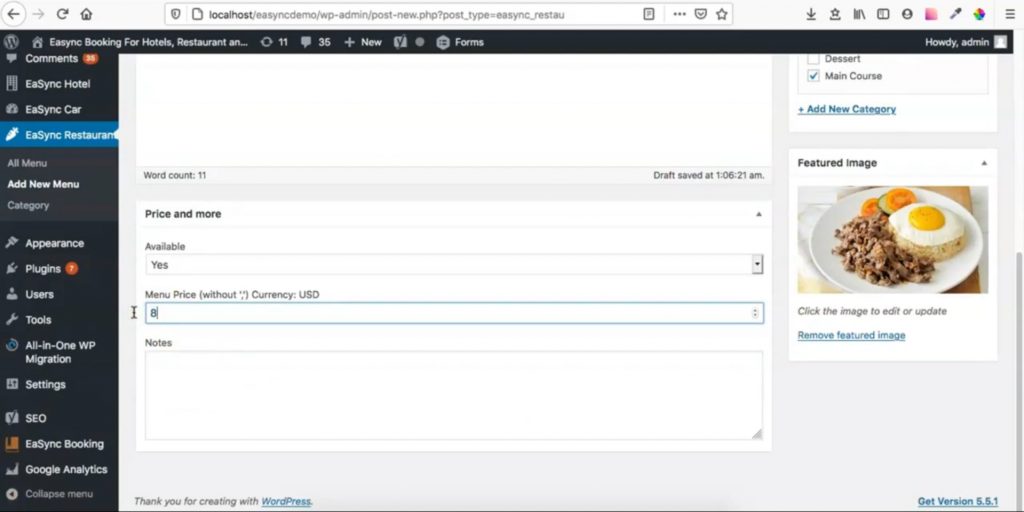
Once done, you can click on the Publish button.
Adding Your Restaurant Booking Page
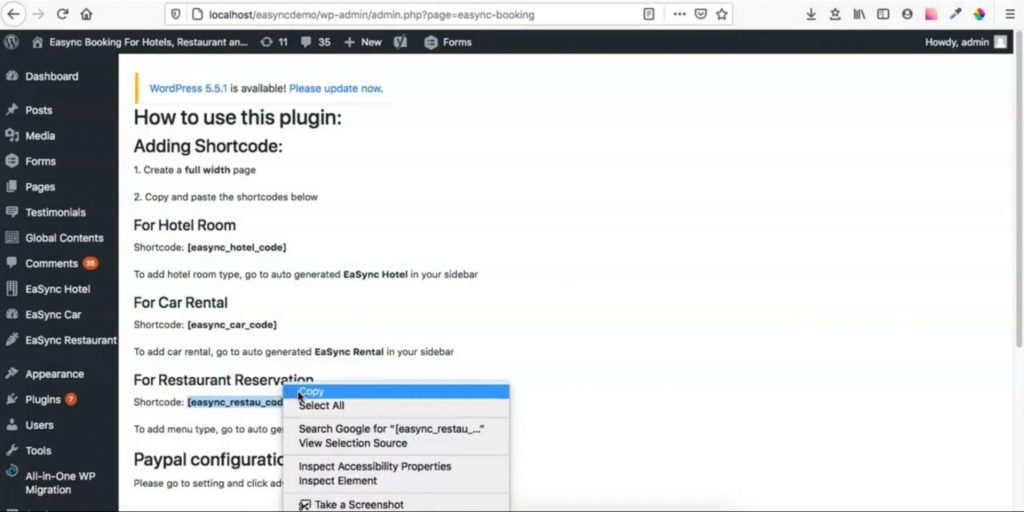
Hit the eaSYNB Booking button on the admin dashboard to return to the instruction page with the respective shortcodes for hotel booking, car rental, and restaurant reservation. Then, copy the shortcode for Restaurant Reservation.
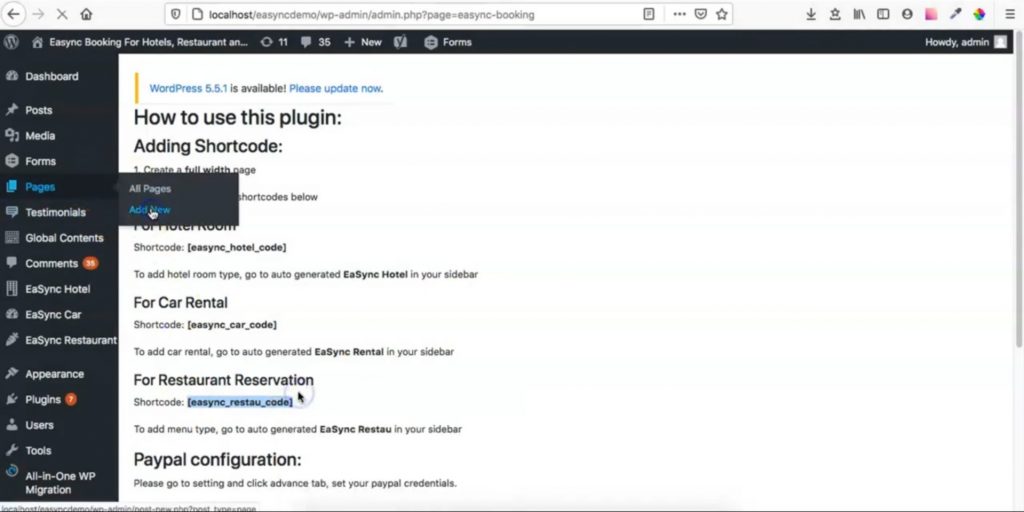
Then, click on the Pages under the admin dashboard and hit on Add New Page.
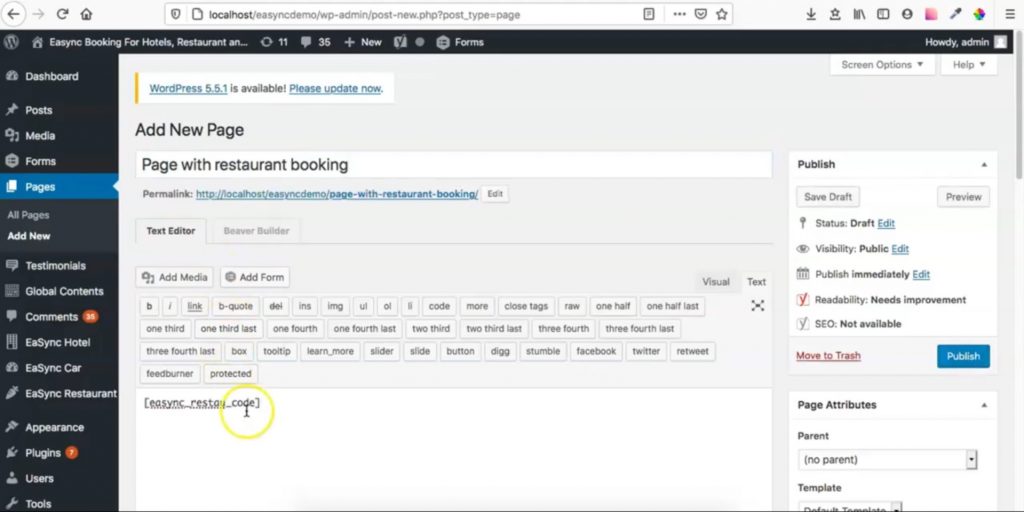
On the next page, input the page’s name where you want to place your restaurant reservation platform. Then, paste the shortcode in the description box provided below it.
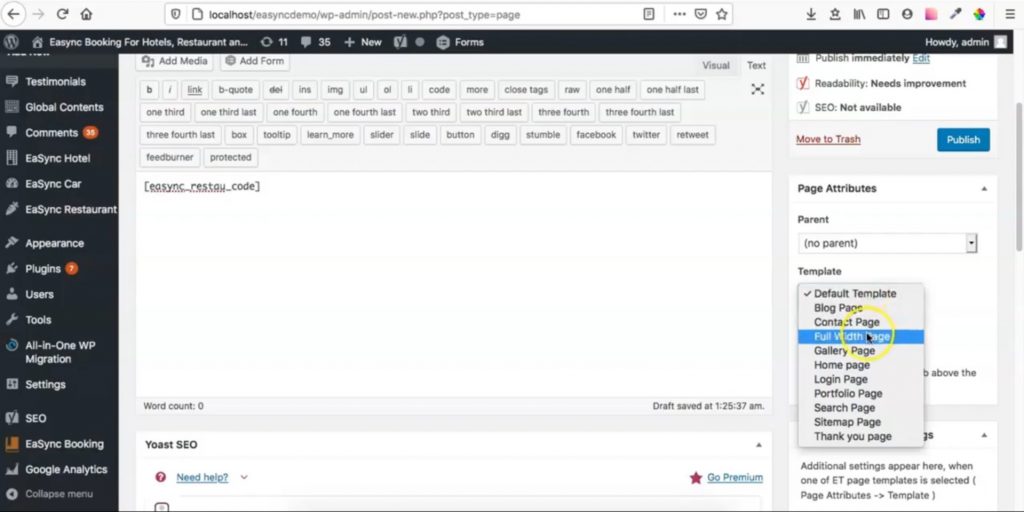
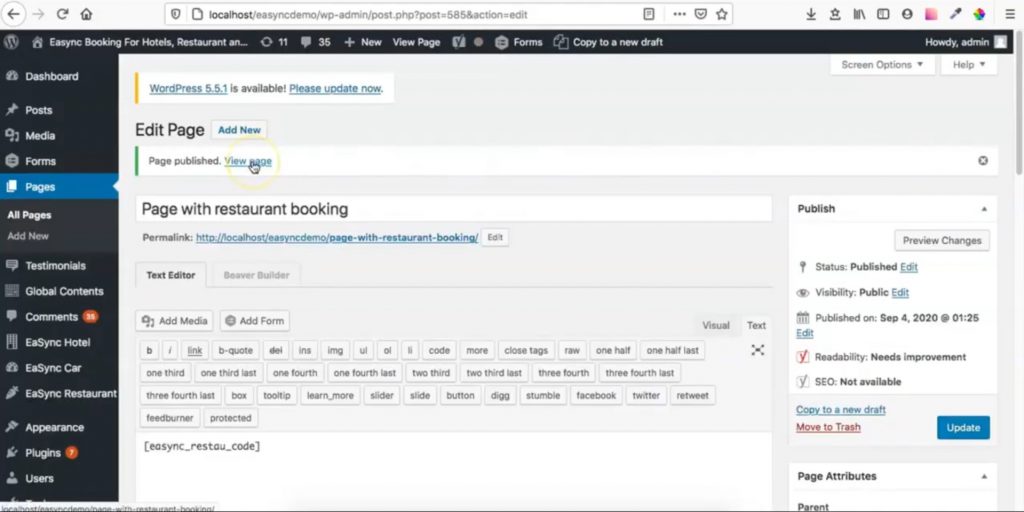
After that, head to the right-side panel and, under Template, choose Full-Width Page. Once done, hit on the Publish button.
You can then view your page by clicking on the View Page button above the entry box for your page title.
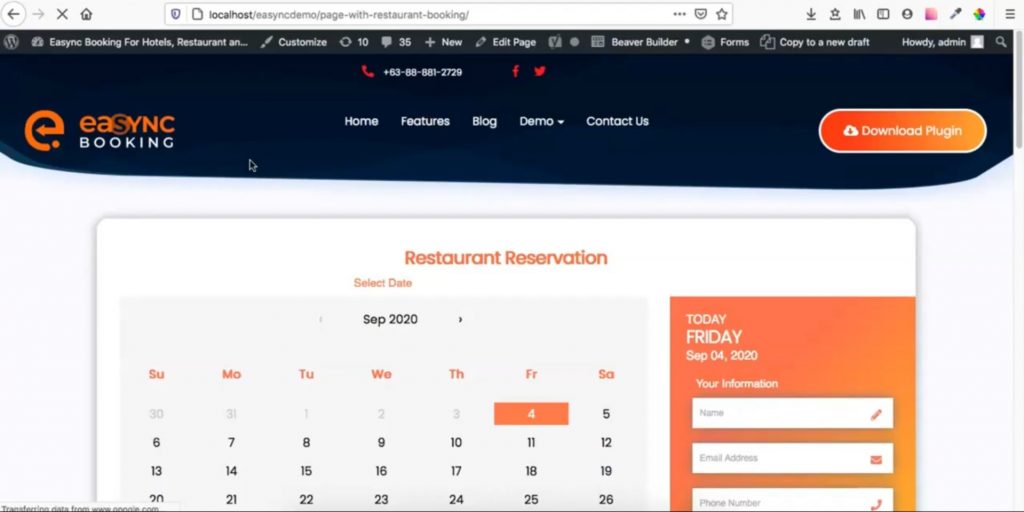
You can then see a Restaurant Reservation page such as the one provided below.
Viewing Entries and Accepting Reservations
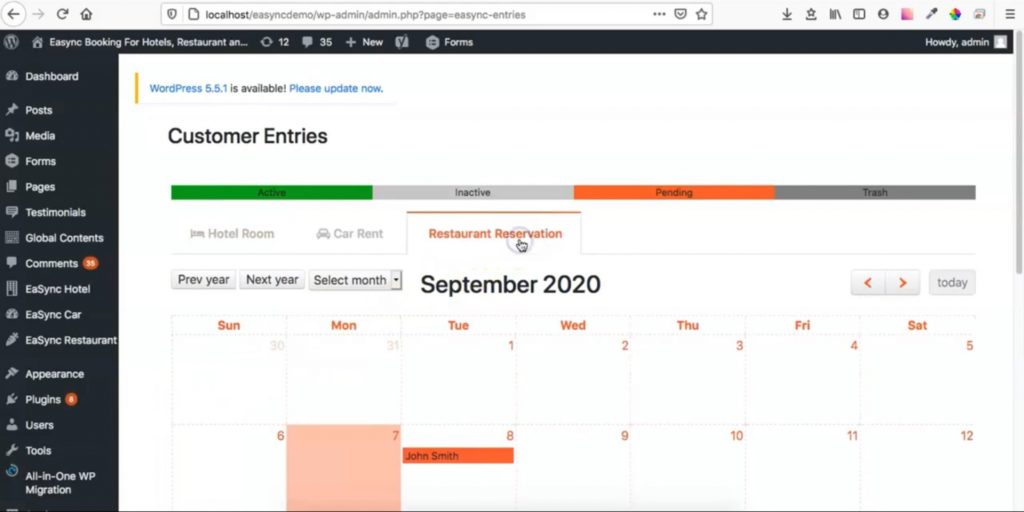
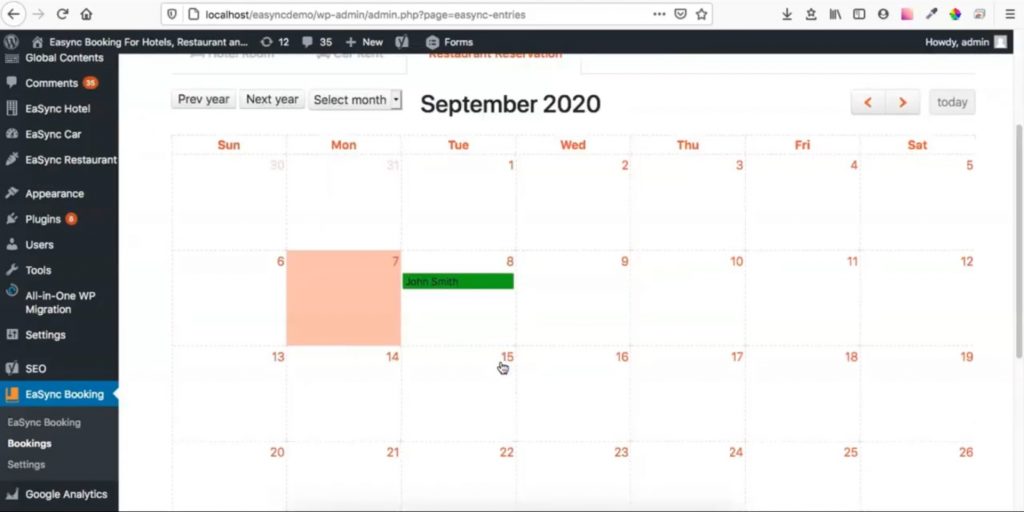
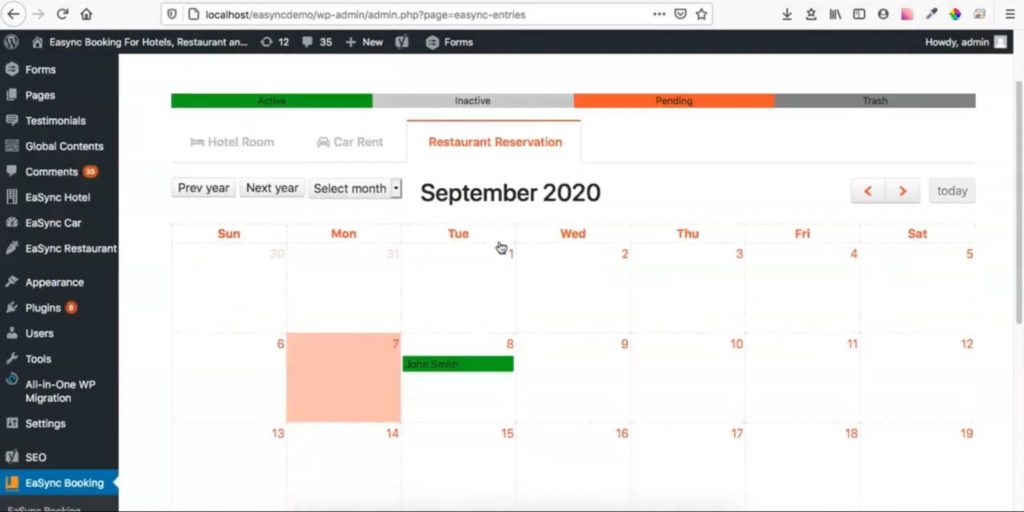
On the admin dashboard under eaSYNC Bookings, click on the Bookings button. You will see a calendar view of your bookings. Next, hit on the Restaurant Reservation tab. You will see the current entries (highlighted in orange) of those trying to reserve a table in your restaurant.
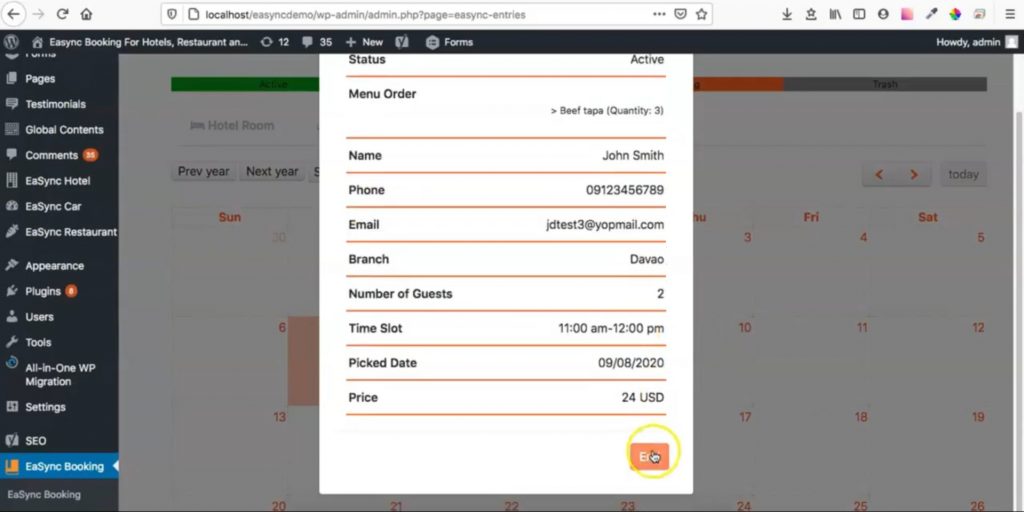
Click on the entry to review their reservation details. You will then see their reservation details on your screen. If you agree to their reservation request, then click on Start.
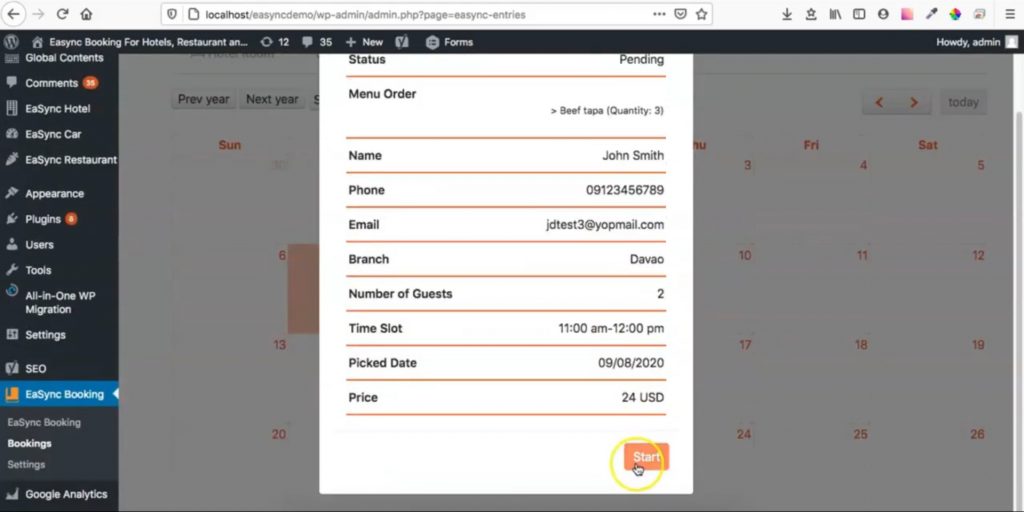
Then, upon successfully approving their reservation, the customer’s name will be highlighted in green.
Viewing Entries and Ending Reservations
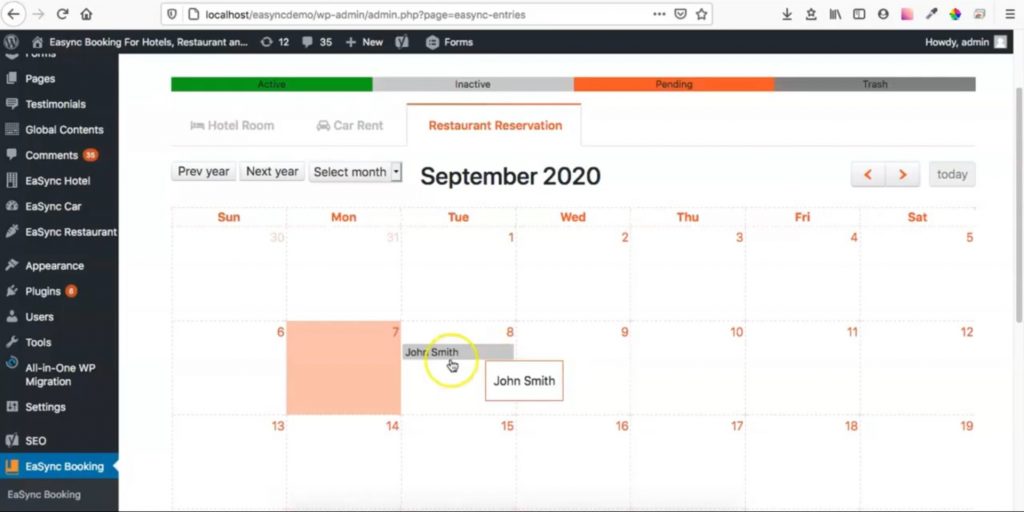
On the admin dashboard under eaSYNC Bookings, click on the Bookings button. Next, click Restaurant Reservation, and a calendar will show you the customers (highlighted in green) with approved restaurant reservations.
To end a customer’s reservation, click on their name. You will see their reservation details pop up on your screen. Then, click the End button to end their reservation officially.
After successfully ending a customer’s reservation, their name will be highlighted in gray.
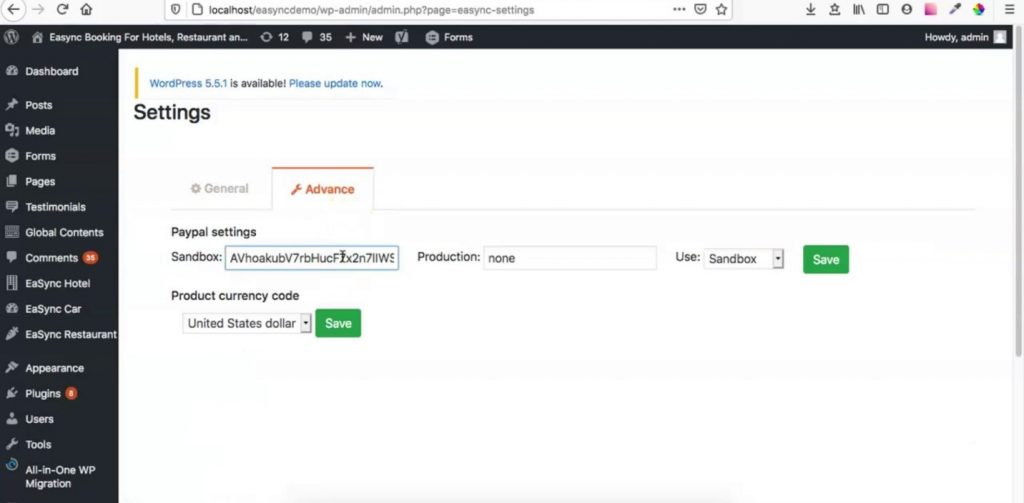
Adding PayPal Sandbox Keys
On the admin dashboard under eaSYNC Booking, click on Settings, and then click on Advance. Next, place your Sandbox key under the PayPal settings. Finally, choose Sandbox in the Use section and click Save.
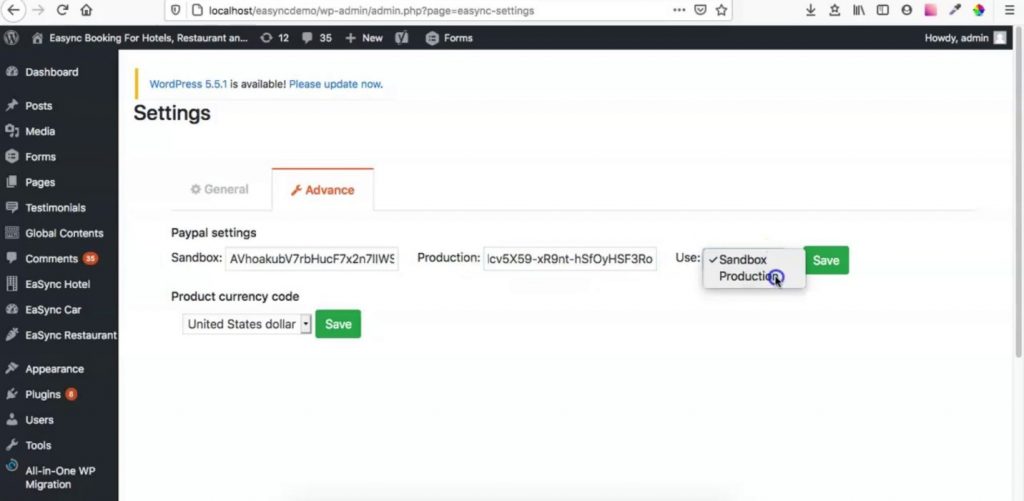
Adding PayPal Production Keys
On the admin dashboard under eaSYNC Booking, click on Settings, and then click on Advance. Next, place your Production key under the PayPal settings. Then, choose Production in the Use section and click Save.
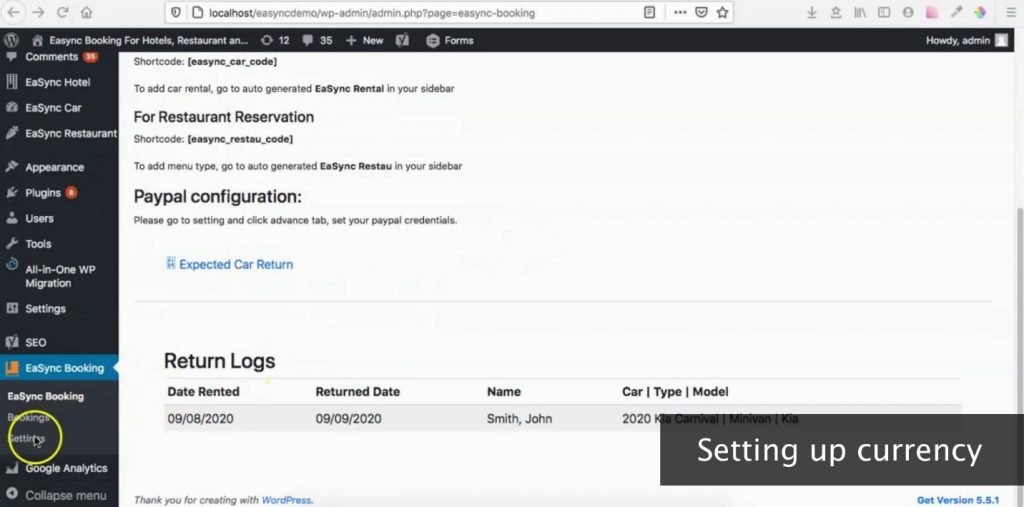
Setting Up Currency
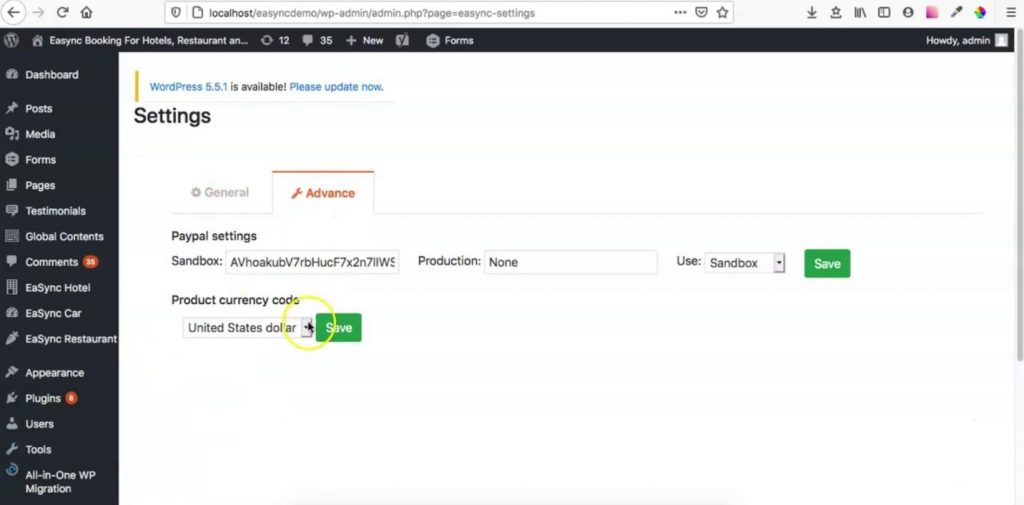
On the admin dashboard under eaSYNC Booking, click on Settings, and then click on Advance.
Finally on this plugin installation guide, head to the Product Currency Code section, select the currency of your choice. Click Save.
Install with Ease the eaSYNC Restaurant Reservation Plugin!
We hope you can successfully install and maximize the eaSYNC restaurant reservation plugin for your WordPress website with this plugin installation guide. So, if you have any more concerns about the installation process, you can check out these quick fixes to eaSYNC Booking installation issues. You can also let us know in the comments section below or send us an email!
Start efficiently managing your restaurant reservations with the eaSYNC Booking WordPress restaurant reservation plugin!
Related Articles
-
The Rise of Reservation Systems in the Wake of COVID-19
The Novel Coronavirus (COVID-19) pandemic brought about drastic changes to people from all over the world....
-

Why You Should Know the Five Principles of Lean
Have you heard of the Lean Principles? Coined by the founders of the Lean Enterprise Institute in 1997, it is an idea that enables an organizati...
-

7 Fine Dining Etiquette Rules Every Restaurateur Must Know
Providing great service is more than just about ensuring you take customers’ orders and receive their...
-

How to Address Restaurant Reservation Challenges
Restaurant reservation systems provide restaurants many advantages to owners and customers alike. With it,...
-

Restaurant Pro Plan Top Advantages: eaSYNC Edition
Restaurant Pro Plan booking systems have played a larger role than just its main purpose. From the...
-
Which is Better: Restaurant Walk-Ins or Reservations?
Both walk-ins and reservations contribute to a restaurant’s revenue. However, you will soon notice (or have already seen) how your restaur...