
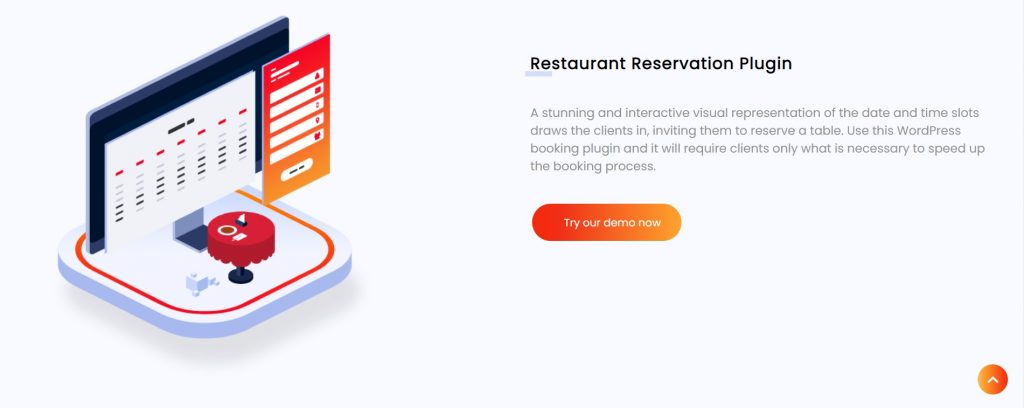
Restaurant Reservation Plugin Demo: A Walkthrough
If you own a restaurant website, you surely need a booking system to help manage your restaurant reservations. So, if you need a restaurant reservation plugin for your WordPress website, then look no further. What you need is eaSYNC Booking’s restaurant reservation feature. To know how you can easily use the restaurant reservation plugin demo, then keep on reading!
How to Navigate the eaSYNC Restaurant Reservation Plugin Demo
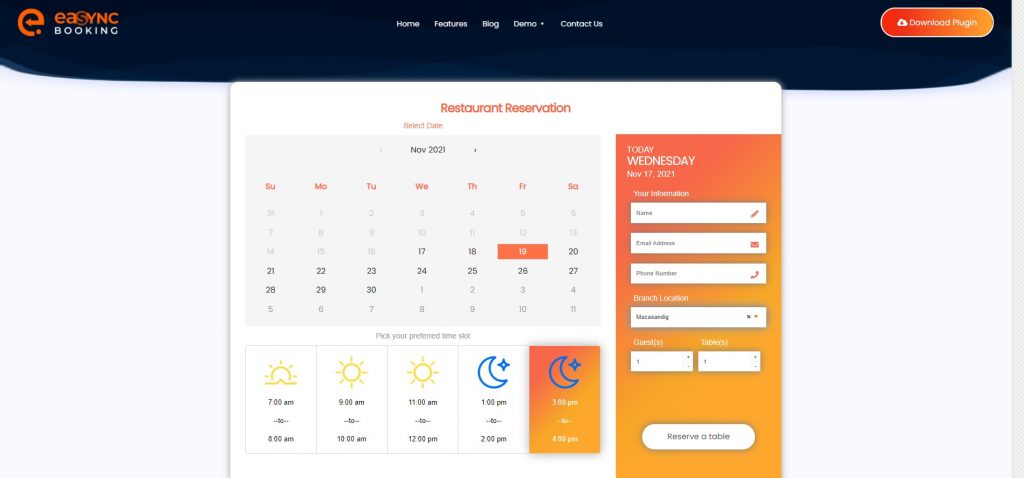
Before anything else, open the eaSYNC Booking’s restaurant reservation plugin (demo version). Then, you will see the online booking plugin’s dashboard, as seen above. The following sections will help you navigate the eaSYNC booking’s restaurant reservation plugin demo.
ONE: Select Date
Upon opening the restaurant reservation plugin’s dashboard, you will see a calendar view. From here, you should pick your preferred date to dine in at the restaurant.

For this step, click on the date corresponding to when you would like to reserve a table at the restaurant.
TWO: Pick Preferred Time Slot
After choosing your preferred date, you next have to set your preferred time slot. On the restaurant reservation plugin demo, you should see an array of sun and moon icons (as seen below) corresponding to particular times of the day (per hour). As such, click on your preferred time slot.
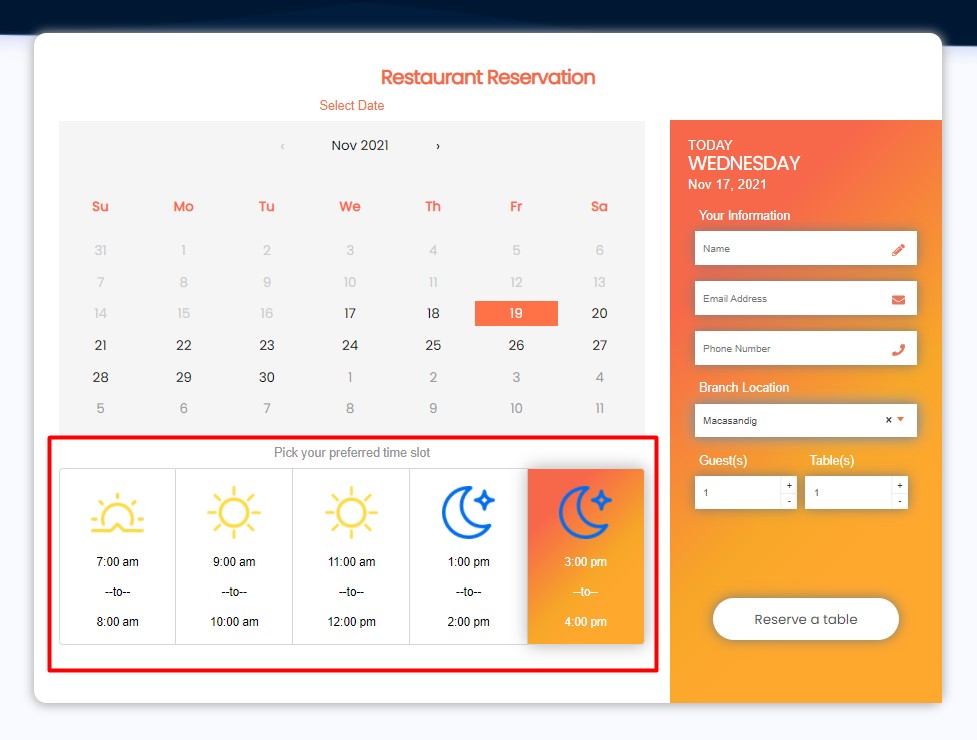
In the sample above, you have the following options: 7 AM to 8 AM, 9 AM to 10 AM, 11 AM to 12 PM, 1 PM to 2 PM, and 3 PM to 4 PM. Of course, these options will vary depending on the restaurant’s set working hours.
THREE: Enter Your Information
After choosing your preferred date and time, you next have to input your information. These personal details will allow the restaurant to contact you if needed.
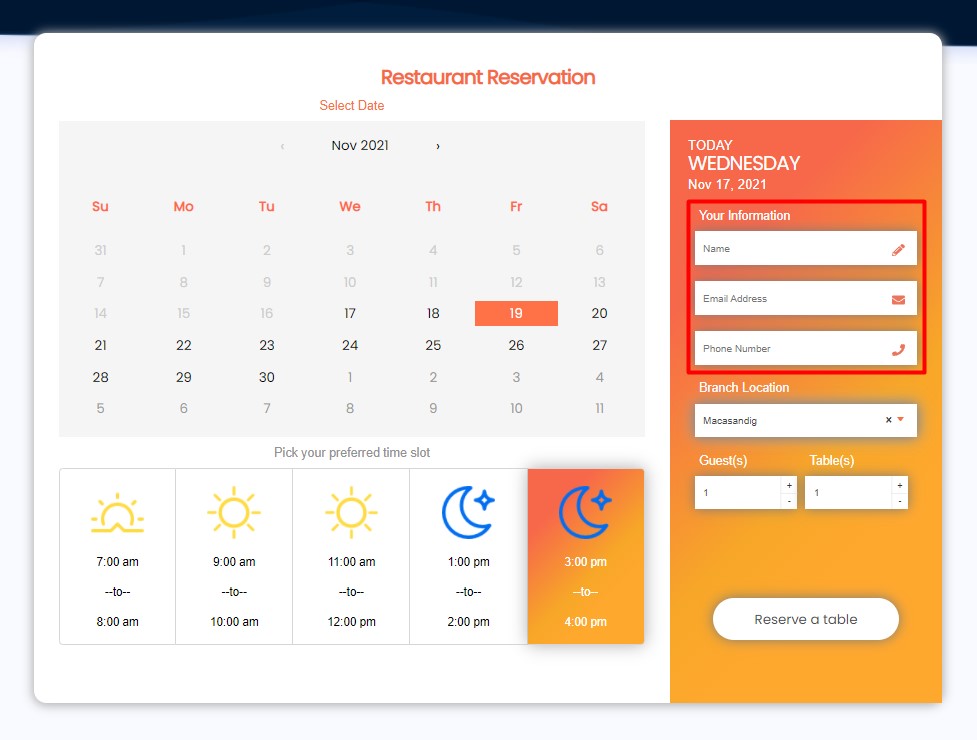
As such, enter your information, including your name, email address, and phone number.
FOUR: Select Branch Location
The next step is to select your preferred branch location.
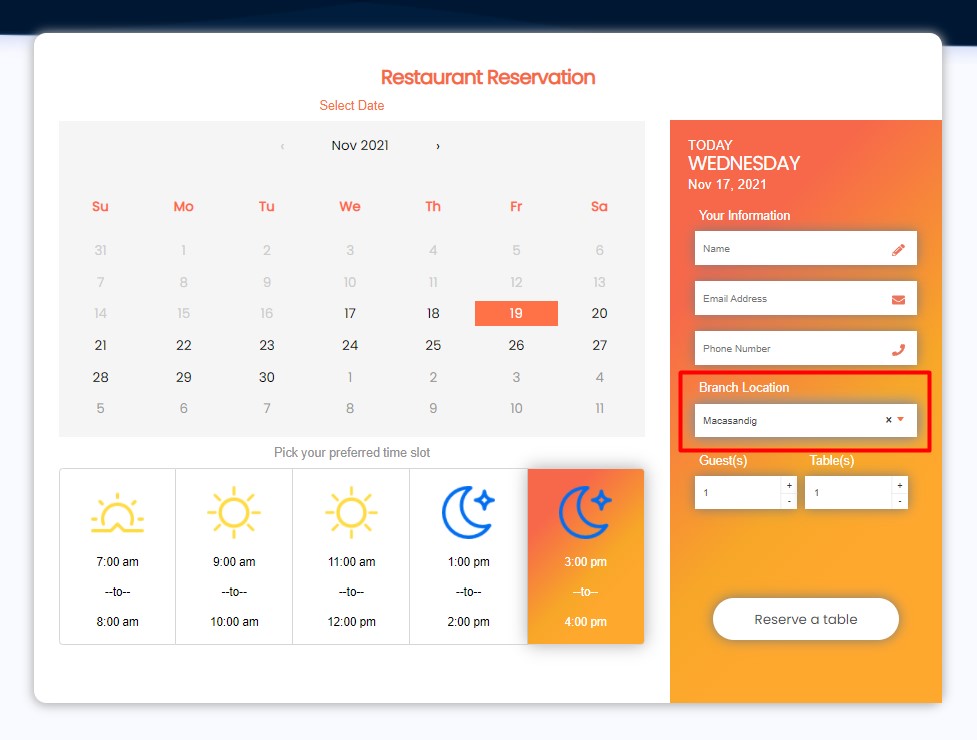
To do so, tap the entry box under the section labeled “Branch Location.” A dropdown menu will appear, showing you the available branch locations that you can choose from.
FIVE: Determine Number of Guests and Tables
Then, once you have chosen your preferred branch location, the next thing to do is determine how many guests will be joining your party. After that, you also have to determine how many tables you will need during your reservation.

Thus, on the restaurant reservation plugin demo under the section labeled “Guest(s),” you can click the plus (+) and minus (-) buttons to set how many guests will be joining your party. In the same manner, click on the plus (+) and minus (-) buttons under the section labeled “Table(s)” to determine how many tables you will reserve.
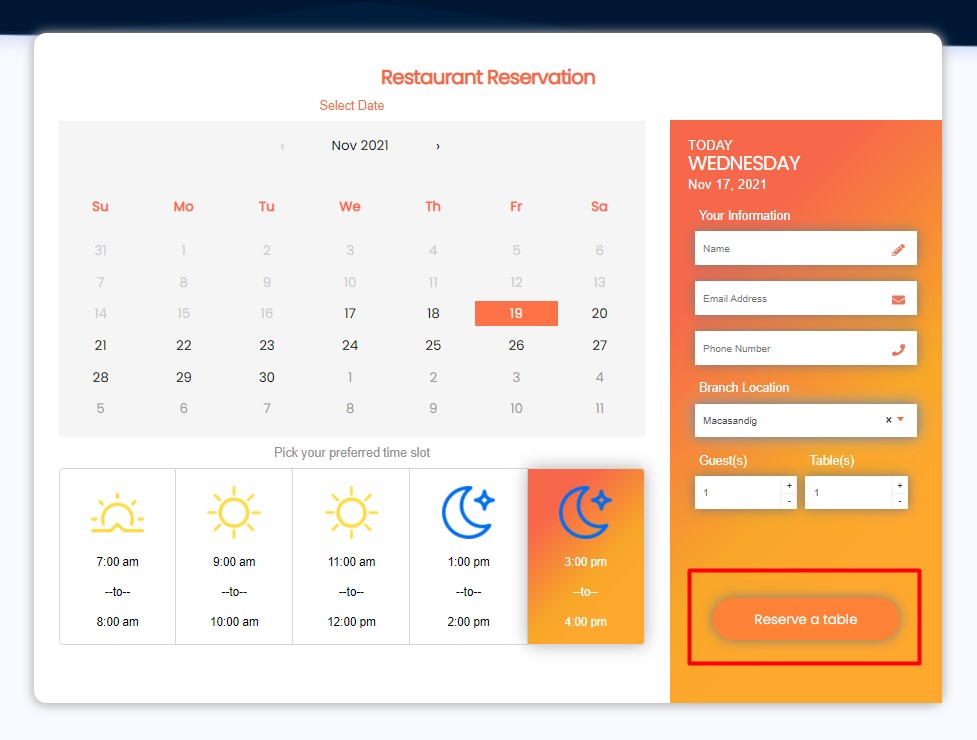
Review all of your information before tapping the “Reserve a Table” button.
SIX: Select Food Choices from Menu
In this part of the restaurant reservation process, you will get access to the restaurant’s menu. If we take the example below, the menu shows you food choices under the categories: main course, dessert, and appetizers.
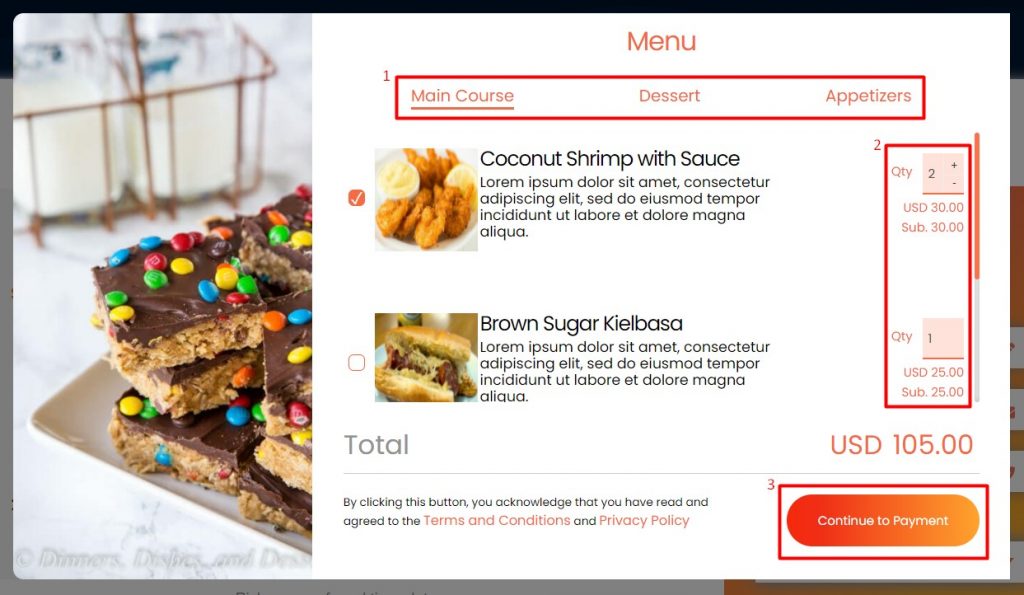
To add a food item to your menu, click on the checkbox located towards its left side. After that, you need to determine how many of that item you would like to order. So, click the plus (+) and minus (-) buttons to set the quantity. You will then see the total amount of your order.
Once you have finished selecting your food choices, click on the “Continue to Payment” button. Note: Review the company’s Terms and Conditions, including their Privacy Policy, before proceeding.
SEVEN: Provide Billing Address
At last, you have made it to the final step in the restaurant reservation process. You can now proceed to the checkout.
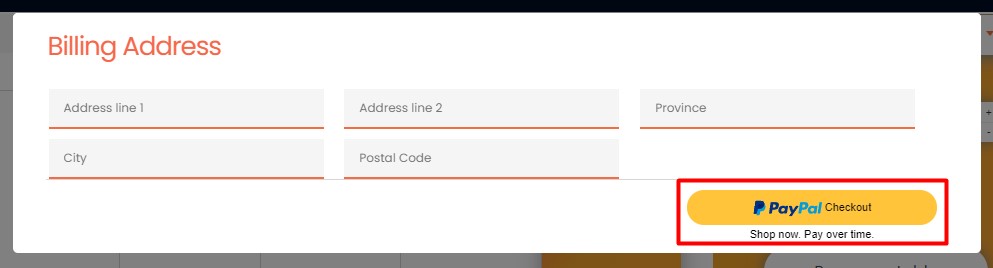
Here, the restaurant reservation plugin demo will require you to provide your billing address. So, fill out all the necessary fields. Then, when you are sure about your entries, you can click the “Checkout” button to complete the restaurant reservation process officially. The plugin will then redirect you to an online payment portal, such as PayPal, where you can pay for the necessary amount.
You will then receive through email a summary of your restaurant reservation transaction, including your payment details. In case you cannot find said transaction summary, try to check your spam folder.
Now, That Was Quick!
Do you now see how easy it is to use eaSYNC Booking’s restaurant reservation feature? If not, you can try out the restaurant reservation plugin demo yourself if you still don’t believe what you have just read in this article. Then, when you’re ready to try the real thing, you can download the restaurant reservation plugin for your WordPress site here!
Let us hear your thoughts in the comments section below, or send us a quick message if you have more questions on WordPress web development. We’re just an email away!
Related Articles
-
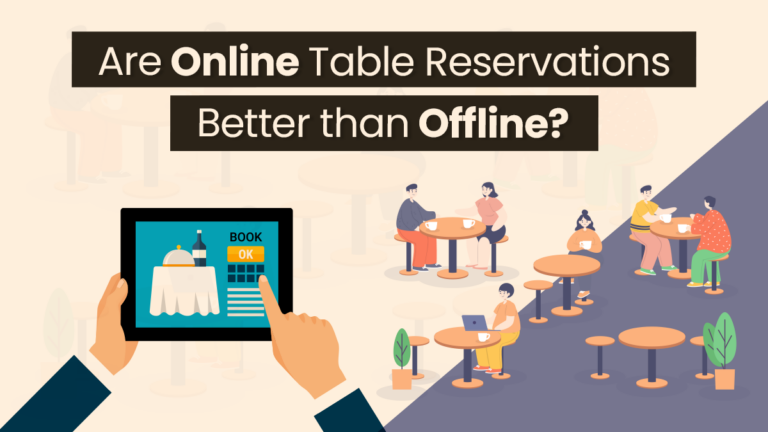
Are Online Table Reservations Better than Offline?
With reservations, diners can pick a place, a table, and a time to eat. Though Online Table Reservations or...
-

Restaurant Pro Plan Top Advantages: eaSYNC Edition
Restaurant Pro Plan booking systems have played a larger role than just its main purpose. From the...
-
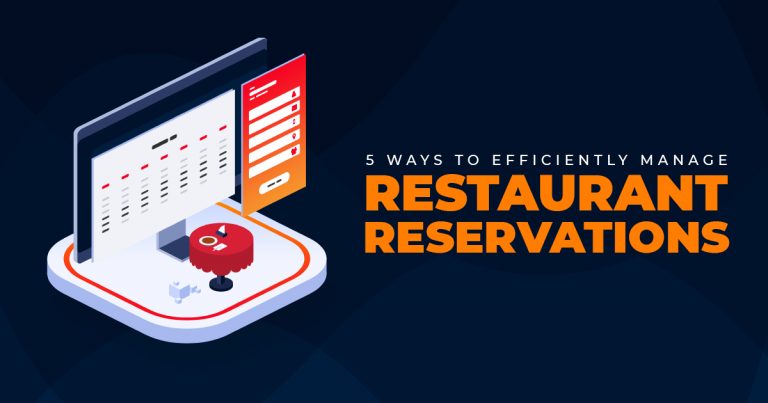
5 Ways to Efficiently Manage Restaurant Reservations
Managing reservations at your restaurant can be challenging. It does not matter whether you have been at it for years or are new to the industry...
-

eaSYNC Booking Plugin and Who Should Use It To Boost Business
The Opportunity via eaSYNC Booking At its heart, online booking systems such as eaSYNC Booking are tech...
-

Coupon Management and its Benefits for Restaurants
Who doesn’t want to take the special offers on coupons and vouchers? They benefit any customers and their...
-

Handle Overbooking with Restaurant Reservation
Due to advancements in technology, restaurants, and their guests can now manage restaurant reservations at...